Uploading an image to Bubble is easy, but sometimes you need to save an image from a URL and save it to your server. Adding an image field to a Data Type in Bubble doesn’t actually add an image on its own, but just a URL leading to an uploaded image. In other words, if you try to save an image from an external URL, you’ll simply save the URL, and not actually upload the image.
Luckily, this is easily solvable, by using the :saved to S3 operator. This operator takes the image in any provided URL, uploads it to your own Bubble app’s S3 server and saves that link instead.
Total Time: 2 minutes
Add the URL to an ImageUploader

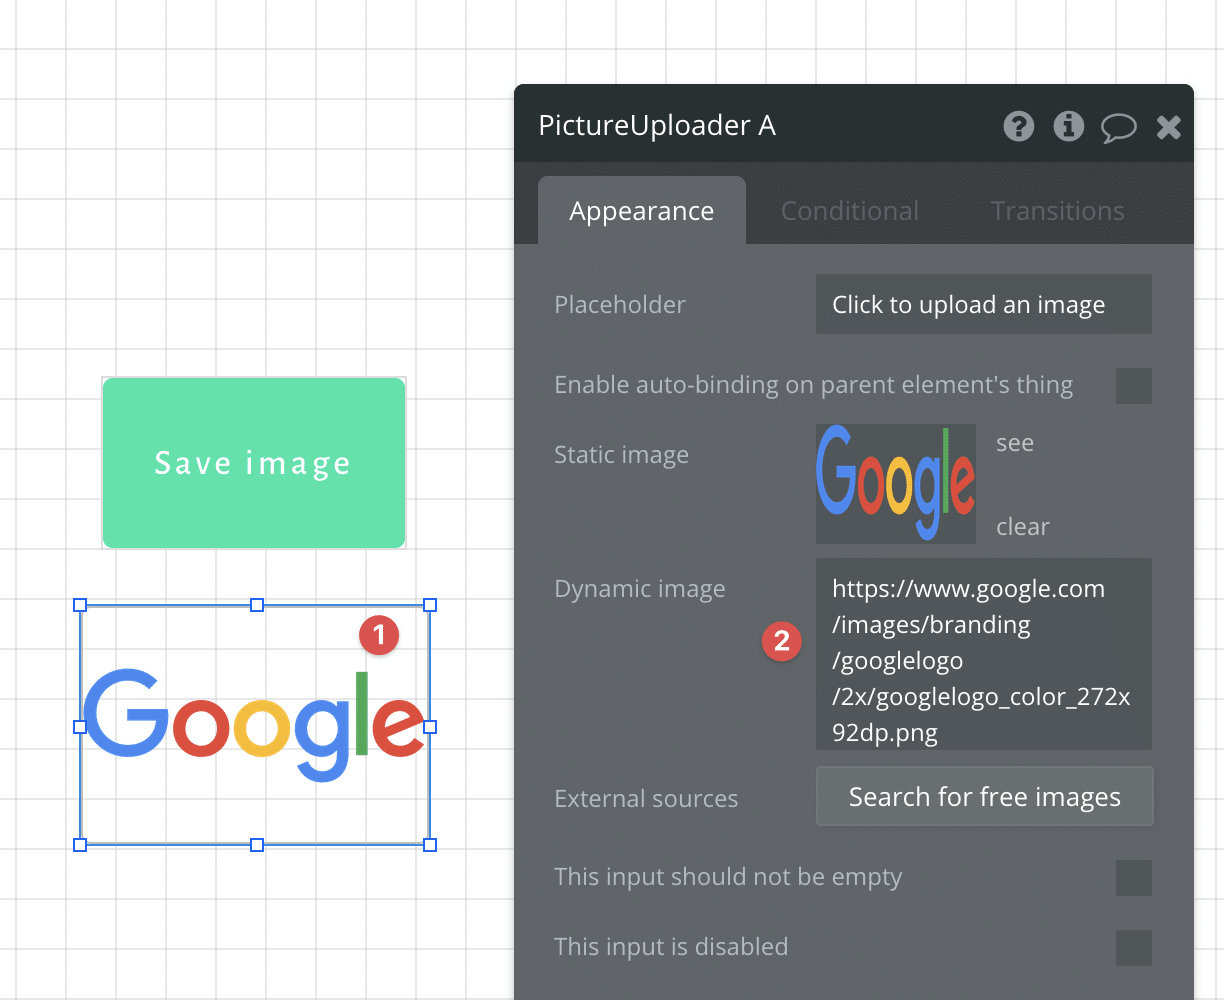
In this example, we’ll borrow the Google’s logo from their website. Start out by adding an ImageUploader element to your page. Double-click the Uploader to see it’s properties, and then set the field Dynamic image to any image URL – in our example the URL is https://www.google.com/images/branding/googlelogo/2x/googlelogo_color_272x92dp.png.
Create an action for saving the image

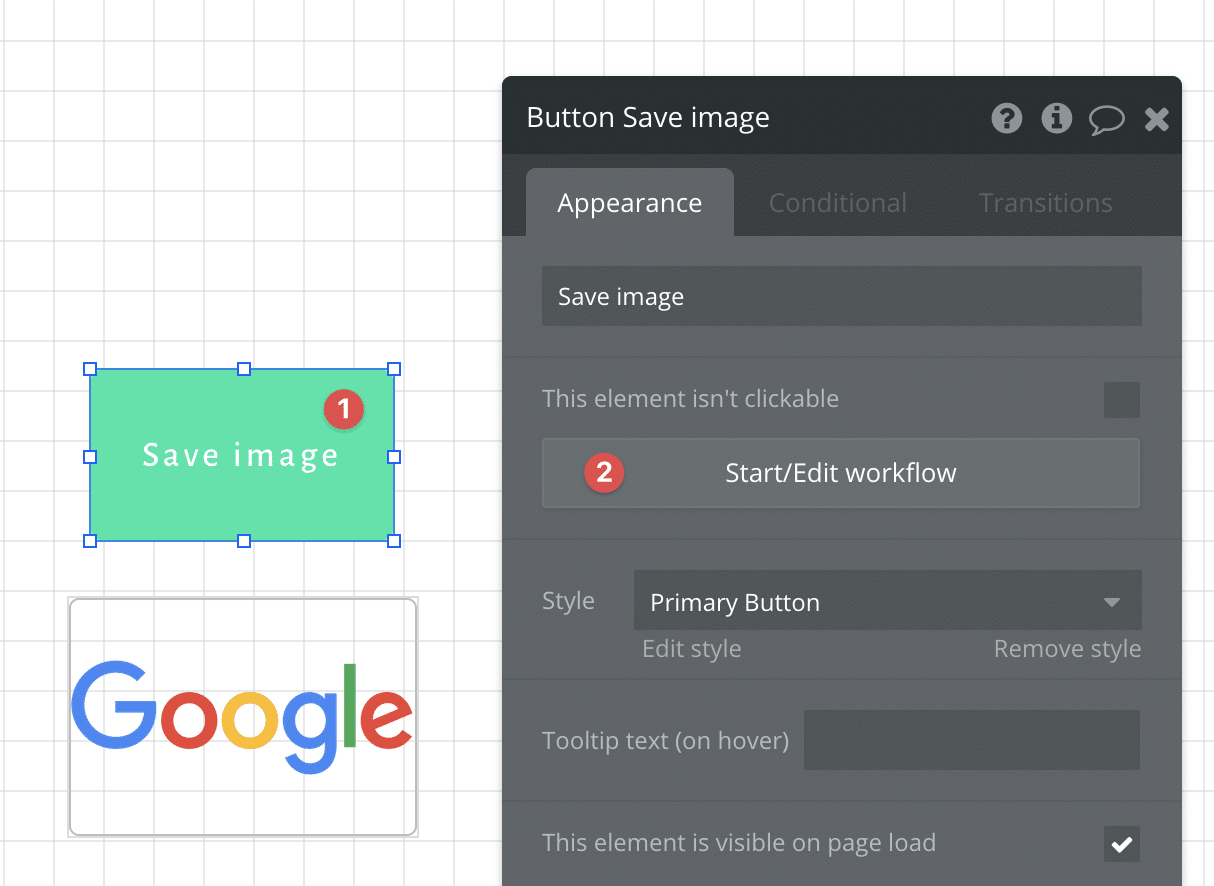
For the next step, add a Button element to the page. Double-click it to see its properties and click the Start/edit workflow button. You’ll be taken to the workflow editor.
Add a step in the workflow using the Make changes to a Thing action, and pick whichever Thing you want to save the image to. In our example, we’ll save it as the Current User avatar.
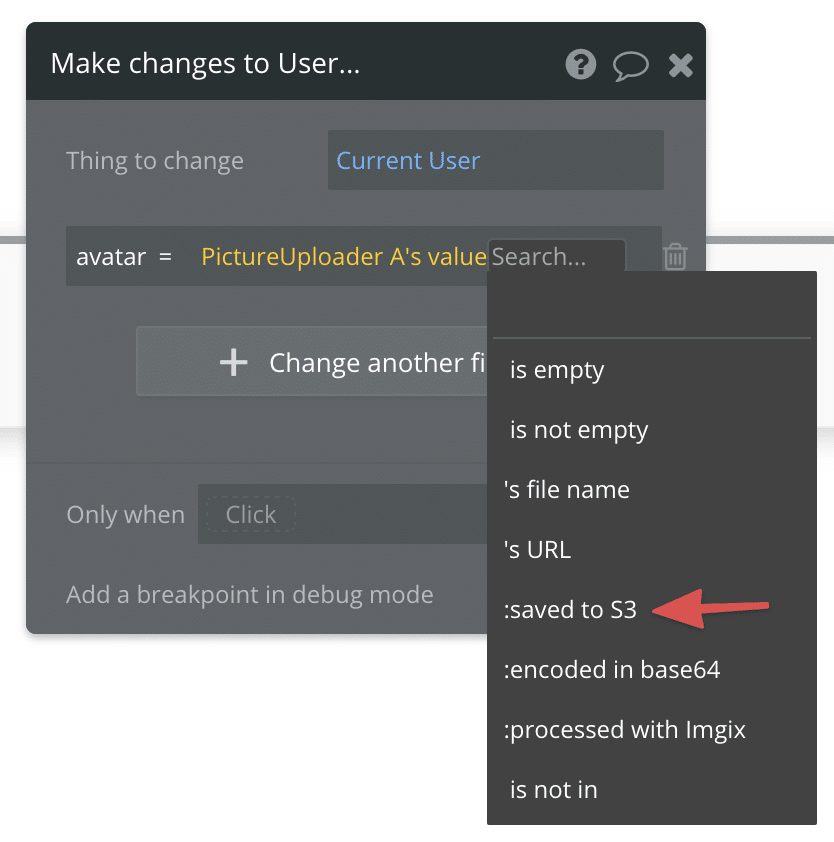
Click the :saved to S3 option

Now, you reference the ImageUploader’s value to set the Current User’s avatar, but after that step you add the :saved to S3 operator. This tells Bubble to upload the selected image to your app’s server instead of simply saving the URL.
This is part of our Bubble quick tips section – click for more tutorials.


